For those of you wanting to know how to make this:

Here's the tutorial I promised.
First up-find a skirt you want to use.
This was a skirt I got second hand for $4.

I tried the skirt on upside down as a shirt and pinned while
it was on me to determine where I wanted to start
sewing and where I would need to put the arm holes.
Lay your skirt out flat and measure how far you
want your shoulder seams to be from the center of your neck
i.e. center of the skirt at this point:
The hem of the skirt will now become your shoulder
seams and neckline and the waist of the skirt will
be the waist of the shirt. Basically, you are just
turning the skirt upside down and putting it on
as a shirt.

I started my shoulder seams at 5 5/8 inches from the
center of the skirt. Turn your skirt
inside out and pin where you will begin your seam.
Do this on both sides from the center.

Next, determine where you need your armholes and
un-stitch the side seam on each side to accommodate this.
My arm holes begin at 1" down the side and
they are 7 1/4 " long. Un-stitch on both sides.


Now you can start sewing.
Go ahead and sew your shoulder seams.
Next, you want to prepare your arm hole for sewing
by picking out the loose threads you just un-stitched and
turning it under and pinning down.
You may have to snip across the existing seam at
the bottom of the arm hole to get it to lay flat.


Now go ahead and sew around the armholes. You'll
want this to be one continuous stitch. I started at the front
of the armhole and sewed around to the back.

Your arm hole should look something like this when done:

This skirt had a tied belt that came with it.
It yours doesn't you can either use a scarf you already
have or make a belt with other fabric you like.
If you just want to wear the shirt like this you are done.

If you want to have the option to wear it as a wrap
then you need to put a hook and eye on it.
I actually just made a loop with some
thread so it doesn't show when I wear the shirt as above.
Try the shirt on and wrap it around how you would wear it.
Go ahead and put a pin where you need to sew the hook
and also a pin where you need your loop.

Sew your hook on being careful to only go thru
one layer of fabric. We don't want the stitches to show
on the front of the shirt once it's sewn on.
Also, be sure to have your hook facing the correct way.
You'll want to make sure it will grab the little loop
you are about to create.

This is how it looks from the front....see how the
stitches from the hook aren't visible from the front?

Now you'll want to make a loop for the hook
to hook into and hold your shirt together.
Like I said, I just used some thread to make a small loop.
To make the loop just sew from one spot to another
a few times over itself. You're basically just making
a tiny stitch that's thick.

This is what it will look like.
Can you see it?
You don't want it to be too big so it won't
stick out while you're wearing the shirt the other way.
It should be just big enough to catch the hook.

Here it is in comparison to a pin head.

That's it.
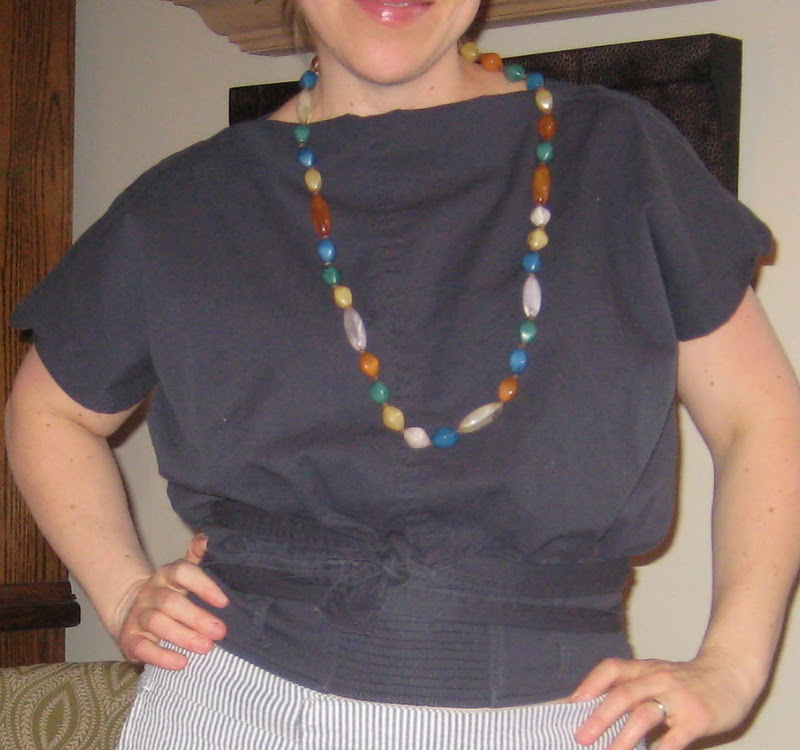
Take your belt and loop it thru one of the bottom
button holes, wrap it around your waist
and tie again at the front.
Now you can wear your shirt like this too:

Or, you can turn it around and wear it like this:

GOOD LUCK WITH YOURS!
I hope this makes sense.
These tutorials are always trickier and more time consuming
than I think they are going to be.
No comments:
Post a Comment