Friday, November 11, 2011

~veterans day momentos~

Each Veteran's Day I like to recognize the veterans
I personally know. Whether that be by mailing them
a card, calling them or writing something
on my family blog about them and their service. 
My husband's Grandpa proudly served in
the U.S. Navy during WWII. It's been nearly
a year since he died and I wanted to be sure 
to acknowledge his service even though he's not
with us anymore. It disappoints me
that the stores really don't have much to 
offer for those wanting to acknowledge 
the importance of this day. I suppose
Christmas is much more profitable 
for the retailers. Even in the greeting
card section I could only find 4 different cards
for Veteran's Day (I bought 3 of them).

For Grandpa I decided to make a personalized
ornament to hang at his headstone.
Remember all those Christmas bulb ornaments I got 
last year? They came in handy again. I'm finding there
is a ton to do with these ornaments. I'm going to stock
up on a bunch of them again this Christmas.

I printed up a picture of him as a young, handsome naval dude
and put it inside the bulb with some
star shaped confetti. I then decorated the bulb
with some Americana stickers and ribbon.
Finally, I attached it to a wooden dowel.
Grandma was happy to go with me and it brought
tears to my eyes to hear her talk to Grandpa
and tell him she was proud of him for 
his service as she placed the flag at the base of
his headstone. Before the tears could
leave the corners of my eyes though she had
me laughing with the next sentence.....
"I hope it's not too hot down there."
Wherever you may be Grandpa....:)
thank you for your service.
Happy Veteran's Day. 

DON'T WAIT FOR VETERAN'S DAY TO THANK
OUR VETERANS.  They are veterans everyday....
not just one day a year.

The sacrifice of a veteran and his/her family is 
so great.  And don't assume the sacrifice
ends when their tour does. Most of the wounds of
war aren't visible, physical wounds. Many veterans are 
"emotionally serving" their whole lives. 
The emotional trauma of war can effect
the quality of life for the veteran
and for the family as well.
If you've ever loved a person who's been
to war you know this firsthand. 
If you don't, consider yourself informed now.
They deserve respect and recognition.....
give it to them.
  HAPPY VETERAN'S DAY.

Tuesday, November 8, 2011

~ kids shirt transformation~

There were a few shirts I loved on my little
guy when he was a baby that I couldn't bear to
throw away. I kept them 
because I wanted to put them on my little girl too.
I figured if I paired them with
a skirt or something girly that it wouldn't 
look so obvious that it was a boys.
Well-I tried that and it still looked like a boys shirt.
I decided I needed to do something different
to "girlify" the shirt a little.

Here was the shirt before:
And here is the shirt after:
I just added a pink bow to the head.
Use whatever color ribbon you want and make
the bow the size you need.
Pin it on the shirt and sew the bow on either side
of the center where it ties:
The bow is secure and although the bow is small,
I think it gives it just the feminine touch it needed 
without taking away from the 
simple cuteness of the shirt.
Maybe I'll add a little tutu made out of tulle too!
Oooh....that would be cute.
Will let you know how that turns out.

Monday, November 7, 2011

~decorating with jars~

My holiday decorations differ each year.
Same stuff but I never arrange and display them
the same two years in a row.
I don't do it on purpose.
In fact, if you want to know the real truth
it's not because I'm creative....it's 
because I can't remember how I did it 
the year prior. I really need to start
taking pics of the stuff because there have 
been years that
I've been quite proud of myself.
I have a lot of jars.
I can veggies in the summer/fall and 
my husband cans smoked fish (the best you've ever had)
in the winter. We always have jars stashed away
in the hutch. Often times I end up using the jars
for my holiday decorating. 

Here's my latest with the jars:

I stuffed them with a little bit of fall foliage
and plastic pumpkins,
turned them upside down and 
tied some raffia around them. 
Simple and understated yet still festive.
You should see what I do with them at Christmas....
maybe you will if I can remember :)

Friday, November 4, 2011

~two-faced~

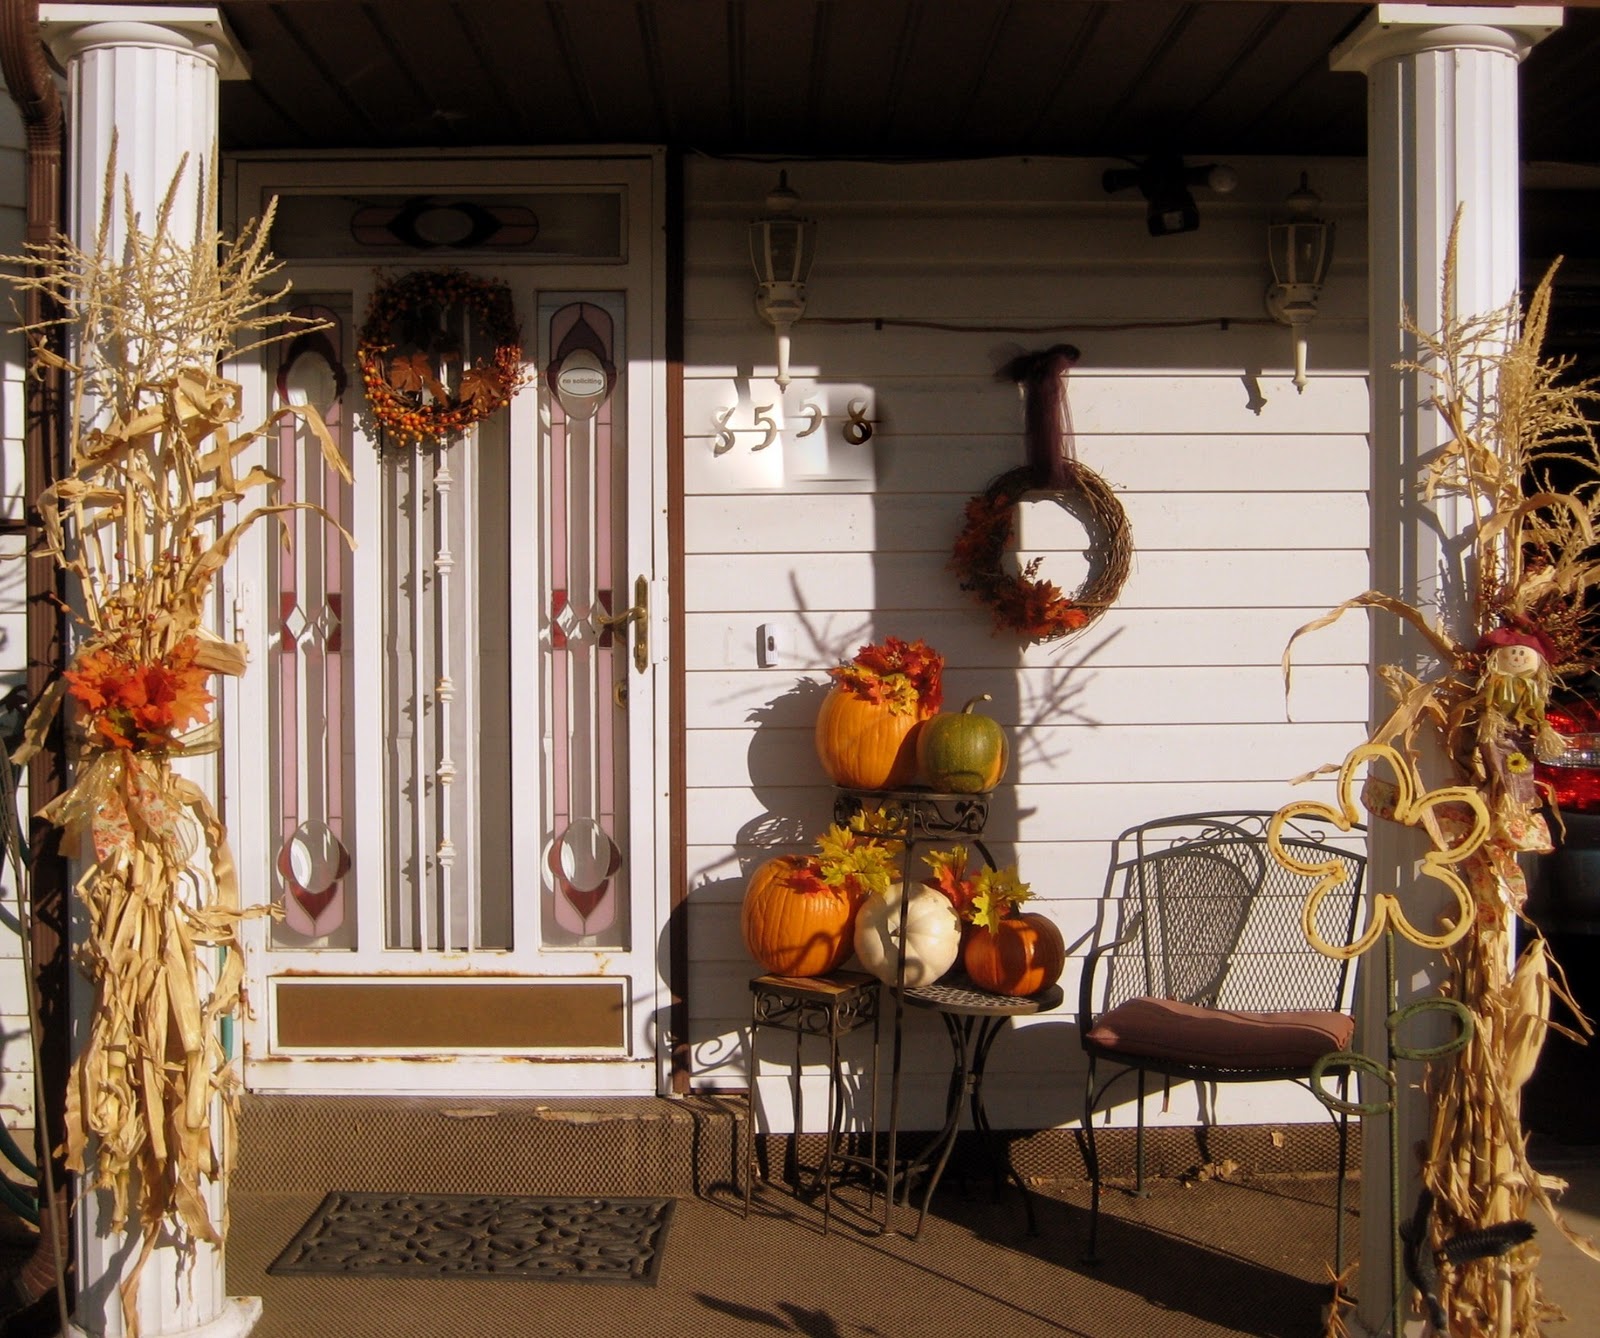
I love fall decorations.
I've said that before right?
Let me show you a trick I've been doing for
years with my pumpkins out on the front porch.

With the SAME pumpkins, I transform my porch
from this:
(nothing spectacular I know...I wasn't feeling it this year)
To this:
SAME PUMPKINS....just turned around and embelished a little.
If you are to get up close and look at the backside
you would see this:


Hey....I've got to get my money's worth.
Talk about getting your bang for your buck.
In years past the pumpkins have actually lasted 
until Thanksgiving without wilting and caving in.
I just turn them around and put some fall
foliage that I bought at the dollar store in and around them.
If you haven't already thrown out your jack-o-lanterns
TRY IT!

Wednesday, November 2, 2011

~self-binding comforter~

I don't know about you guys, but to me,
there's nothing like a blanket made especially
for you by someone who loves you.
Wrapping up in a handmade blanket is 
equivalent to that person wrapping their arms
around you, protecting you and loving you.

When my little guy was born (5 years ago) he 
got so many beautiful blankets. From bassinet to 
crib to toddler bed; I had sizes and shapes for each stage....
handmade from loved ones and given to me at
my baby showers.
(I remember each and every one of them :) )

It was only natural that when he moved out of
his toddler bed and into his "big boy" bed that I
wanted him to have a comforter made just for him.
About a year prior to this, my husband came home
with some adorable fabric with John Deere tractors
arranged to look as if it was camouflage
disclaimer: my hubs doesn't go to the fabric store...
he found it for $1/yard at our FAVORITE secret
treasure store and couldn't pass it up. He got 
like 5 or 6 yards of it.
 
I knew immediately once I set my mind on making
the comforter that this was the material I wanted to use.
I wanted something very easy and simple.
I have made a lot of the self-binding baby blankets and
I thought, "Why couldn't I make the same style, just bigger?"
So....I did.
Do you know how easy this was?
I used a queen size sheet for the binding/back fabric.
The most difficult part of this project was finding a place large
enough to lay it out and pin it....
and bending over to do it (I was very pregnant 
when I made this last year).

I just laid out the sheet then placed the quilt batting
down on top of the sheet. Next I laid the flannel camo
fabric down and pinned it all around.
I don't have a link for a self binding tutorial but I'm
sure there are a ton swirling thru
the blogosphere. If you can't find one
and you're interested in making one of these let me know
and I'll try and get some instructions to you.
The trickiest part is the corners.
You basically have to do it the opposite
way you think it should be done. 
For the pillow case I just took some of the fabric
and ironed on a chubby monogrammed "E".

I gave it to him for Christmas LAST YEAR.....
YES-it has taken me this long to blog about it.

He loves it.
And I love finding him wrapped in it
all warm and snuggly :)
Some nights when I tuck him in he
smiles and says, 
"Momma-you made this blanket for me because
you love me don't you?"
MISSION ACCOMPLISHED!
"Yes E...as a matter of fact, I do love you."

Total cost for this was under $20.

Monday, October 31, 2011

~mummy juice box~

My neighbor brought this Halloween treat over
for my little guy today:
How adorable is this?
A juice boxed dressed up like a mummy. 
What a great idea!
She wrapped white electrical tape around the juice
box and attached some googly eyes.

Looks like she re-attached the straw with a glue gun after
she wrapped it.
Most importantly....she left an opening for the straw:
I think this is such a good alternative to candy.
 My little guy isn't complaining either......
 I hope all you spooks have a
SAFE AND FUN HALLOWEEN!

Friday, October 28, 2011

~baked chicken chimi's~

Since the final episode of Project Runway isn't 
online yet this morning let's talk about a favorite topic of mine....
FOOD!

Don't you find one of the trickiest parts of dinner
is trying to come up with something different?
Most women I talk to feel like they make the same
things over and over. I do it too.

The fall season is like my cooking New Year.
The colder weather always brings with it a desire to
cook more and to cook different things.
It's like an awakening for my kitchen since I 
HATE cooking in the summer when it is hot.
A couple years ago I got this recipe from a friend 
for baked chicken chimichangas.
DEEE-LISH-US!
I dug the recipe out of it's hiding place after finding
that my friend had forgotten/lost the original recipe herself. 
Since she needs the recipe again too, I thought I 
would just share it on here so everyone
can partake in the goodness of this dish.

 This is most of the ingredients you will need for the actual chimis....
pretend there is shredded cheese in this picture.
-tortillas
(these are the BEST kind you can buy in the store)
-olive oil
-shredded chicken (I used 3 breasts)
-cream cheese
-taco seasoning
 -cilantro (optional)
-onions (optional)
-shredded cheese

First off you want to shred your chicken.
Now combine the cream cheese with the chicken....
use whatever it takes to make the consistency you want.
I used about 6 oz.
Add your taco seasoning (a packet) and 
remaining ingredients that you want in the 
chicken filling mixture.

Next you're going to put a hefty spoonful onto 
your tortilla and roll it up with the ends tucked in.
After you get it rolled place it on a baking sheet
and brush some olive oil on it.
This makes about 6 chimis.
Place them in oven after they are all rolled and oiled down.
350 degrees for about 25 minutes.

Now here's the REALLY good part.....the sauce!
I didn't take a picture of the ingredients but here's the list:

-1 can cream of chicken soup (10.5 oz)
-1 can green chilis (4 oz)
-1 jalapeno seeded and chopped
-1 Tablespoon fresh lime juice (about half a lime)
-cilantro (optional)

Put all the above ingredients in your food processor or blender
and liquefy. Transfer to a saucepan and heat up while your
chimis are baking in the oven.
It should resemble something like this.
Take your chimis out of the oven once they are slightly golden
and a little crustified. If you cook them too long they
puff up and explode. 
Garnish the chimi with some of this sauce and
whatever else you like.......
 Serve with Spanish rice and you've got yourself a 
delicious chimichanga platter without all the deep fried greasiness.
My 4 year old will even eat this!

I was thinking last night as I was cooking this....
you know you're getting old when instead of swapping
bar stories and cocktail recipes you are sharing
dinner recipes and reality T.V. schedules. 

Whatever recipes and stories you are sharing.....
ENJOY!

Linking up with Positively Splendid.

Total Pageviews